Tuesday, November 9, 2021

How to setup email notifications on workflows in D365 F&O

Original post: http://d365tour.com/en/microsoft-dynamics-d365o/email-notifications-workflows/


Today we’re going to see how to manage workflow notifications in D365 Supply Chain Management.

Indeed, there are 3 methods that we will discover during 3 chapters: Via the calendar, via the action center or via e-mails.

Via the calendar

The first one is the basic method, which is visible directly on the home screen.

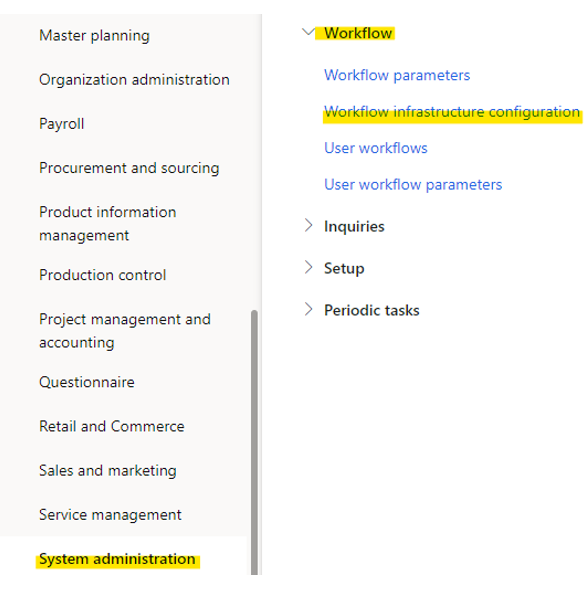
The only condition is that you must have launched the workflow batch in « System administration \ WorkFlows \ Workflow infrastructure configuration » :


There are some HyperText links under the calendar :


Via Action Center

The second one is via the action center.

For this method a little more configuration is necessary but nothing too complicated.

Indeed in the options of the user it is necessary to go to check the box « Send notifications to Action Center » :


This has the effect of adding this type of notification:


and if we open the pane on the right we have more detail :


Note that there is sometimes a delay before the appearance of the notification.

Via e-mail

The last method is to send email notifications.

And here … it’s not the same story anymore.

3 methods of sending emails are configurable : EML, Exchange et SMTP.

Here we will focus on the SMTP method.

Let’s start by looking at what to do with user options.

there is two things to do :

·        Configure the email address that will receive the notifications. If this field is empty, notifications will not be sent:


·        Check the case « Send notifications in email » :


This is all we have to do at the user level (except that it must be done for all users who want to receive email notifications).

Now let’s go to the system settings.

The first step is to configure the sending of emails for SMTP.

To do this, go to the module « Systeme Administration \ Setup \ E-mail \ E-mail  Setup» :


In the configuration section, activate the SMTP service, set SMTP as the default provider of batch messaging and optionally limit the size of attachments.


In the « SMTP Parameter » section, contact your favorite IT specialist to obtain the server address, port, user name and password required for sending :


Once the configuration is done, it is always useful to send a test email to validate that everything is good.

The second step is to start a batch process which will take care of sending emails.

For that, go to the module « System Administration \ Periodic tasks \ Email processing \ Email distributor batch » :


Configure a frequency according to the needs of the company (every hour, 10 minutes, etc.).

We come to the 3rd part, and not the simplest, the creation of a mail template. Which is actually where we are going to define the formatting of our mail.

To create it, it will depend on the scope of the Workflow.

If the Workflow is shared between all the entities, this will be done in the module “System Administration \ Setup \ E-mail \ System email templates” :


If the Workflow is specific to the entity, this will be done in the module “Organization administration \ Setup \ Organization email templates” :


Both bring us to a similar screen in which we have to create a new line:


Email ID : the Template name, who will be choose in the workflow (next step)

Email description : free text to explain the ID (no impact)

Sender Name : name that will appear in the email as the sender

Sender Email: mandatory address but which will be replaced via SMTP

Then create a line for each of the languages used in your company like this :


Choose the language, then enter the subject. The Subject will be the title of the email.

To insert the body of the email, click on “Email message” or on “Edit”:


And there surprise! D365 asks you to load an HTML file …


A little tour on the web to find how to create an html file and here is a simple test:

Use the following link to compose your own html : https://html5-editor.net/


I’m not hiding you that I haven’t yet figured out how to find and assign the variables between the “%” and that it would be a good idea to dig a little deeper into the subject.

The result of this file is the email below:


Did you think you had finished?

Go still a little effort we are in the last straight line…

We just have to associate our Template in our workflow.

To do this, open the workflow and look at the global parameters of the workflow:


Just to clarify, if you have a header workflow that calls a line workflow, the Template can be only configured in the header workflow.

On the other hand if you configure it only at line level it will not work…

And now, your users will now be able to receive their email notifications 

I hope I didn’t give you a headache too much,


Importing Expense Items from Credit Card Statements in D365 F&O

Original Post:  https://atinkerersnotebook.com/2016/09/01/importing-expense-items-from-credit-card-statements/comment-page-1/

Microsoft Post: https://docs.microsoft.com/en-us/dynamics365/project-operations/prod-exp/import-credit-card

Importing Expense Items from Credit Card Statements

The expense management within Dynamics allows the users to easily submit expense, but a lot of the time they are just copying information from corporate credit cards which the organization is already receiving summaries for. To save time, and also to make sure that some of the transactions don’t get lost, it’s a good idea to automatically import the transactions beforehand and then just get the employees to expense the unreconciled expenses.

Luckily Dynamics allows is to do that.

Getting Ready…

Before we start importing our credit card transactions we need to first set up the employee with a credit card that will be used to link the imported transactions to the employee record.

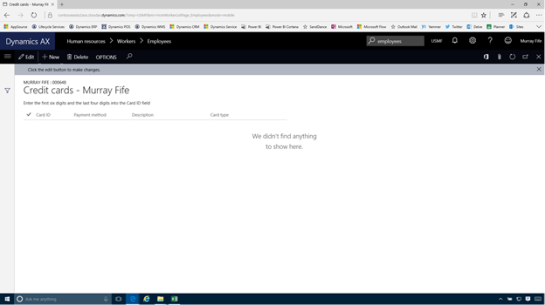
To do this open up the Employee record and then open up the Expense action panel. Then click on the Credit cards link.


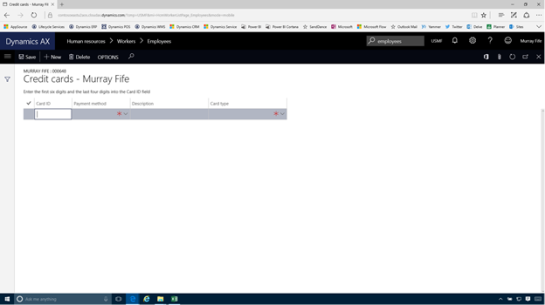
This will open up the Credit Card maintenance form for the employee. Here we will just want to click on the + New button in the menu bar.


This will create a new record for us.


Now we just need to find the credit card number from the import file.


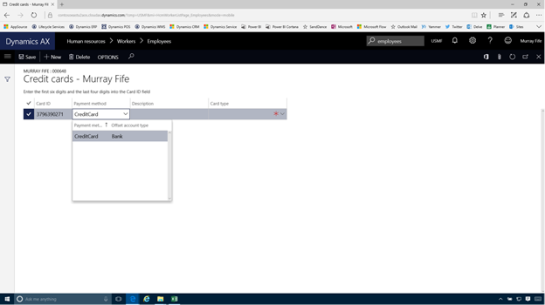
Once we have pated in the credit card number into new record we can update the Payment Method and set it to CreditCard.

Advertisements
REPORT THIS AD


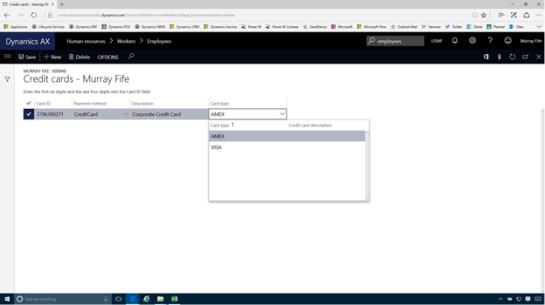
We then can identify the credit card by updating the Description.


And then set the Card type – in this case AMEX.


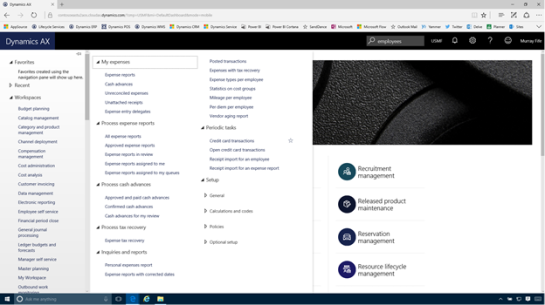
Now we will want to import in all of the credit card transactions from the import file. To do this, just click on the Credit card transactions link within the Periodic tasks group of the Expense management menu.


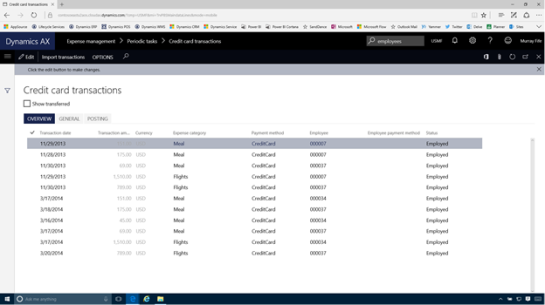
When the Credit card transactions form is displayed, click on the Import transactions button within the menu bar.


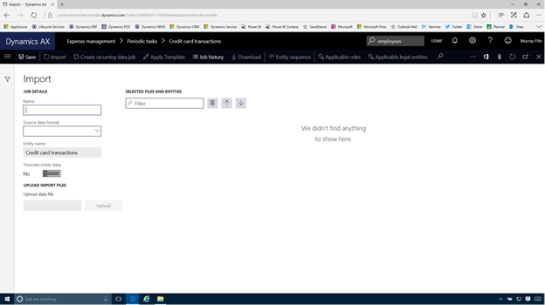
This will open up the Data Management form.


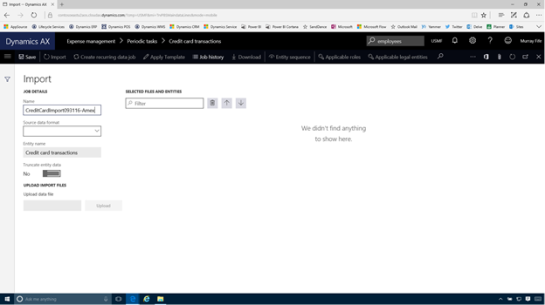
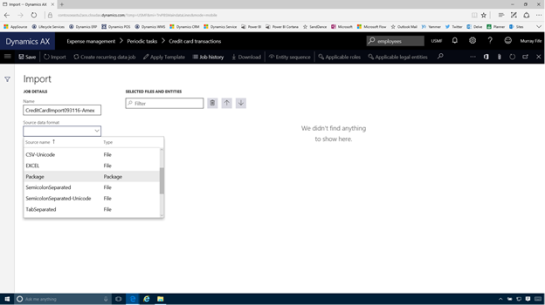
All we have to do here is give our import a unique Name.


Then select the Source data format and set it to Package.


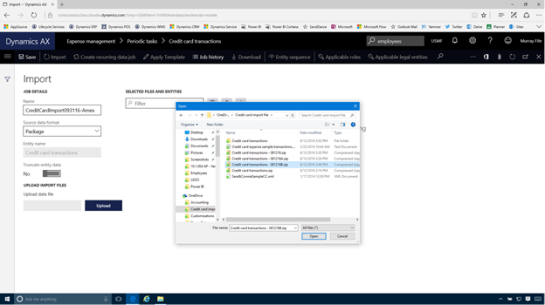
Then click on the Upload button and find the credit card import file that we want to use and then click on the Open button.


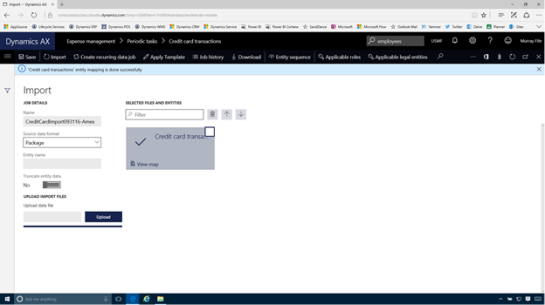
This will process the file and when it has finished, just click on the Import button within the menu bar.


Advertisements
REPORT THIS AD

This will kick off the import transaction.


After a bit the process will complete and you will see if any of the transactions failed to import.


When we return back to the Credit card transactions we will see that there are a number of new transactions that have been added.


How it works…

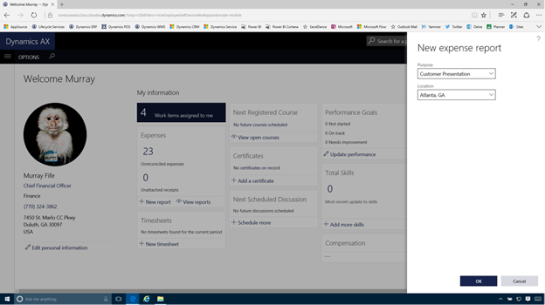
Now we can see the results of the import. To do this we will just open up the Employee Self Service workspace and then click on the New report option within the Expenses section.


We will just need to give our expense report a Purpose and a Location and then click on the OK button.


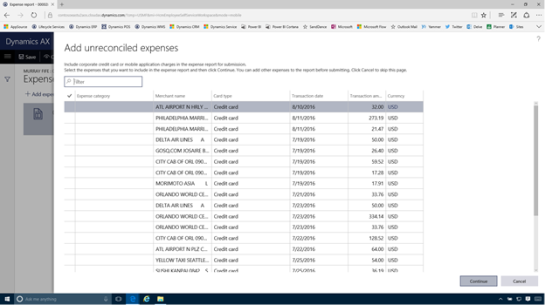
Rather than go straight to the expense report, since there are outstanding transactions, then the Add unreconciled expenses form will be displayed showing us all of the transactions that we just uploaded.


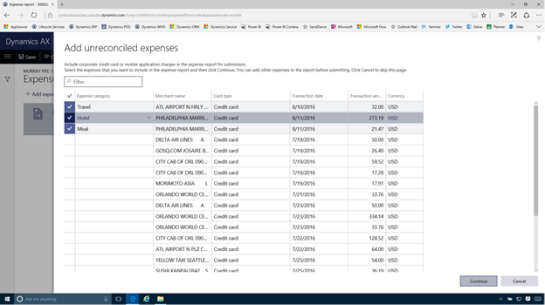
We can select any of the transactions that we want to add to our expense report, set the Expense Category for each of the transactions.

After we have done that we can click on the Continue button.


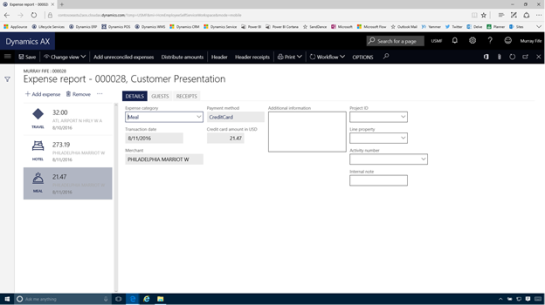
Now when the Expense report is displayed it will already have the imported transactions there for us.

Advertisements
REPORT THIS AD


Review

Importing the transactions from the credit cards into Dynamics is a great timesaver. Also before importing the transactions we can also merge in information from other systems to speed up the process.

How cool is this.


How to restrict financial reports folder to access only specific reports in D365 finance

Original post : https://dynamicsaxinsight.wordpress.com/2019/10/10/extensible-data-security-policy-for-financial-reports/


In D365FO, Financial reports are stored in FinancialReports table in AxDB unlike in AX 2012 where they used to get stored in the reporting database and could be filtered per user through report library permissions feature in Management Reporter. However, we still can filter financial reports per user using the XDS policies.

SOLUTION:

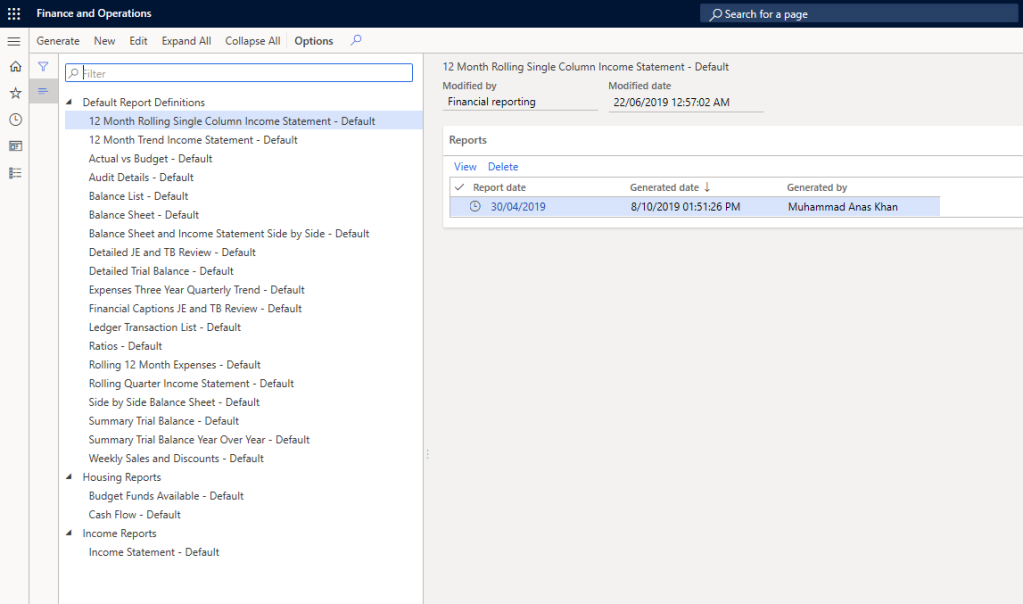
Consider we need to configure security for a user such that he/she could only see reports under Housing Reports folder.

1. CREATE A QUERY

Create a query. Add FinancialReports table as a data source. Add range for field Folder. Set value to Housing Reports.


2. CREATE A SECURITY POLICY

Create a security policy. Set the properties as highlighted. Please note that we are using RoleProperty as ContextType. Further we are using the primary table, FinancialReports as the constrained table as well. That’s why, we are not adding any other constrained table to the policy. Lastly, set the query to the one created above.

3. SYNCHRONIZE THE DATABASE TO LET THE POLICY TAKE EFFECT.

4. CREATE A NEW SECURITY ROLE

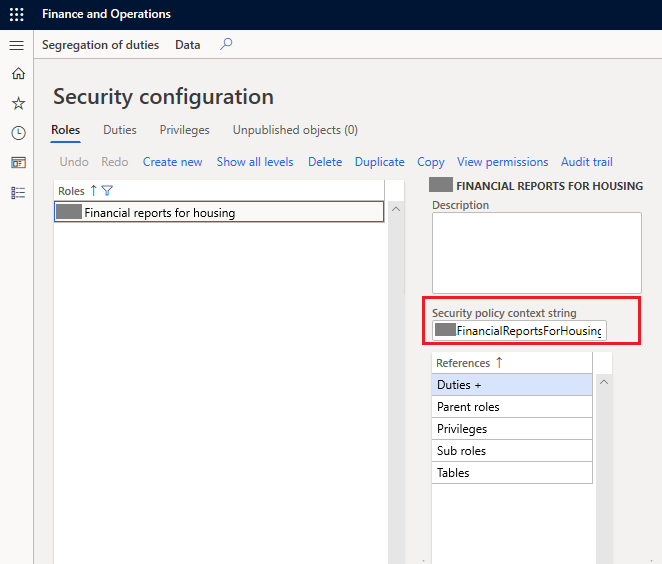
Create a new security role or use an existing one to update the Security policy context string value to the context string value we used on the security policy. This binds the security policy with the security role and eventually to the user.

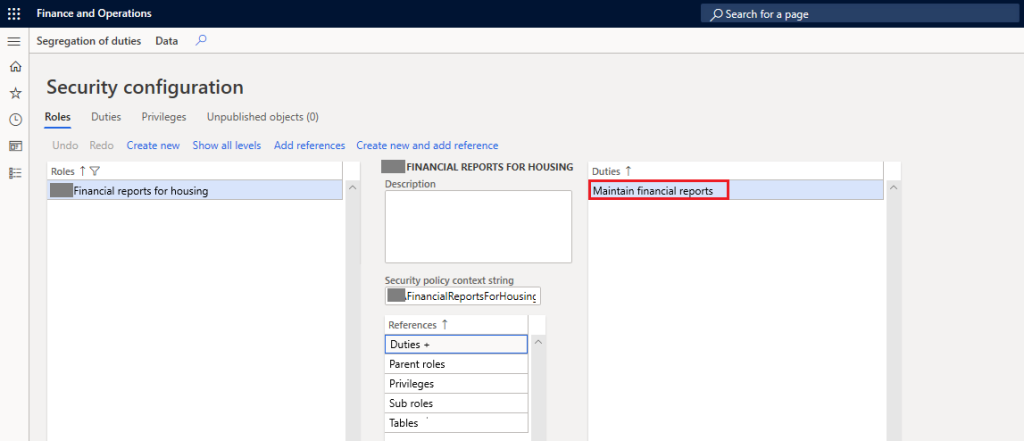
Make sure the role has relevant duties to maintain or view financial reports.

5. TEST

Login with the user which is assigned this security role and bingo see the magic! Only reports under Housing Reports folder are accessible to this user.


What is the primary purpose of using a Solution in Microsoft Power Platform & ALM?

As organizations embrace low-code development with Microsoft Power Platform , it becomes essential to manage and govern apps, flows, and dat...