Use Visual Studio to query Azure SQL Data Warehouse in just a few minutes. This method uses the SQL Server Data Tools (SSDT) extension in Visual Studio.
Prerequisites
To use this tutorial, you need:
- An existing SQL data warehouse. To create one, see Create a SQL Data Warehouse.
- SSDT for Visual Studio. If you have Visual Studio, you probably already have this. For installation instructions and options, see Installing Visual Studio and SSDT.
- The fully qualified SQL server name. To find this, see Connect to SQL Data Warehouse.
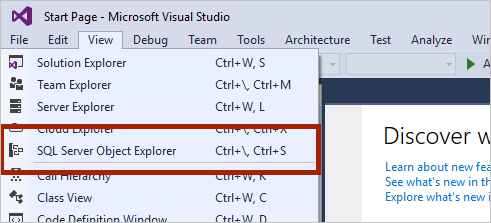
1. Connect to your SQL Data Warehouse
- Open Visual Studio 2013 or 2015.
- Open SQL Server Object Explorer. To do this, select View > SQL Server Object Explorer.
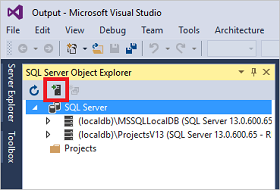
- Click the Add SQL Server icon.
- Fill in the fields in the Connect to Server window.
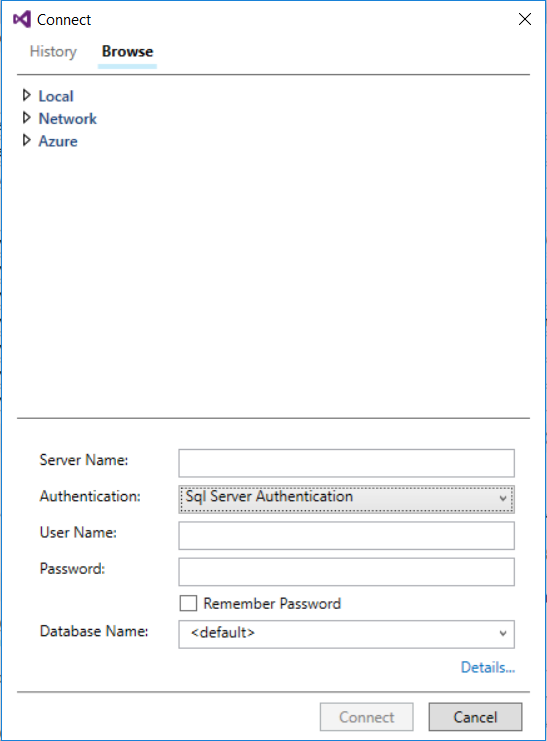
- Server name. Enter the server name previously identified.
- Authentication. Select SQL Server Authentication or Active Directory Integrated Authentication.
- User Name and Password. Enter user name and password if SQL Server Authentication was selected above.
- Click Connect.
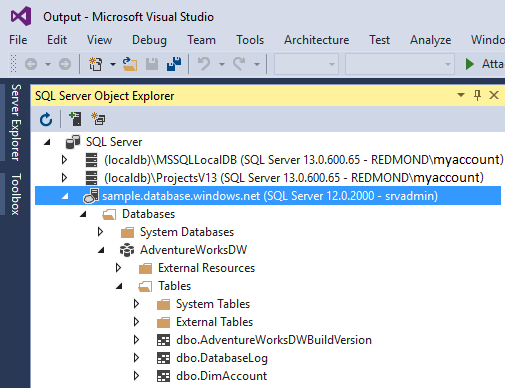
- To explore, expand your Azure SQL server. You can view the databases associated with the server. Expand AdventureWorksDW to see the tables in your sample database.
2. Run a sample query
Now that a connection has been established to your database, let's write a query.
- Right-click your database in SQL Server Object Explorer.
- Select New Query. A new query window opens.

- Copy this TSQL query into the query window:SQL
SELECT COUNT(*) FROM dbo.FactInternetSales; - Run the query. To do this, click the green arrow or use the following shortcut:
CTRL+SHIFT+E.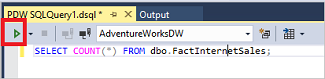
- Look at the query results. In this example, the FactInternetSales table has 60398 rows.

Actual Post: https://docs.microsoft.com/en-us/azure/sql-data-warehouse/sql-data-warehouse-query-visual-studio
No comments:
Post a Comment